Base URL
All API requests are made to the following base URL:Unize API Key
The Unize API uses API keys for authenticating requests. Here is a step-by-step guide on how to generate an API Key:Create an account
To begin accessing Unize AI, you have to create an API account first. You can sign up for an account here. After signing up, you must verify your account by following the verification link in your email. You will be asked to create a password for your account.
Generate an API Key
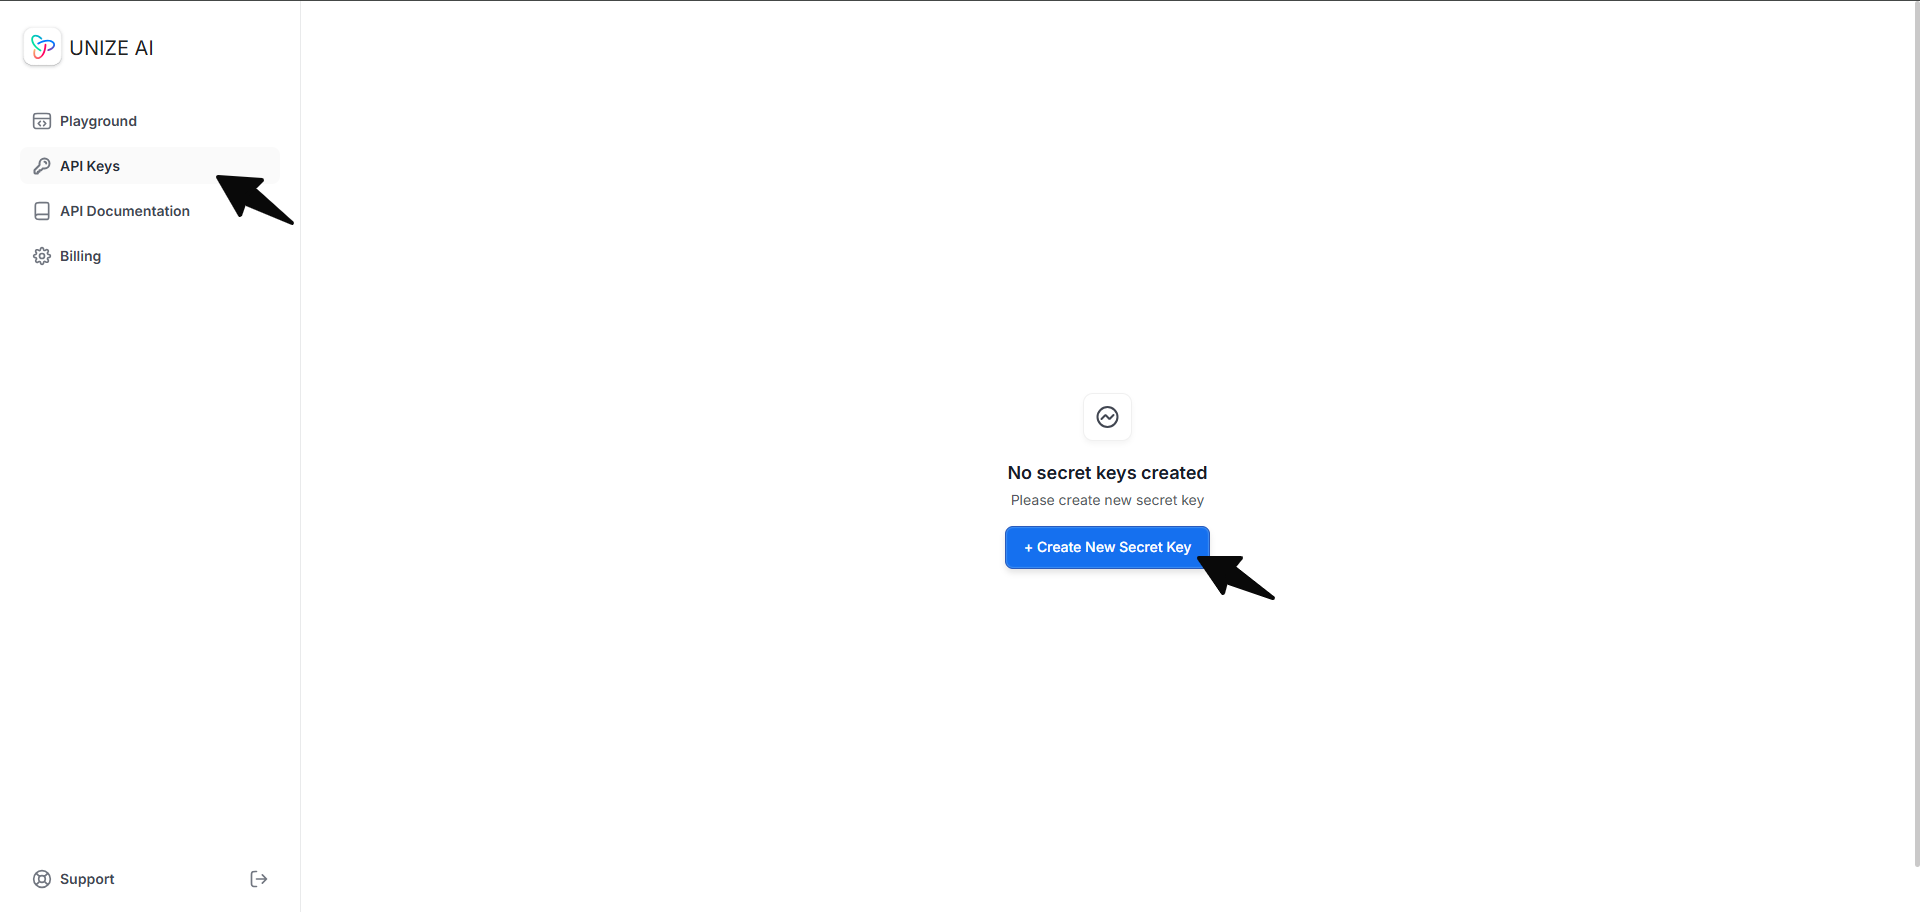
To use the Unize API, you need an API key. You can generate an API key by navigating to the API Keys page and clicking on the “Create New Secret Key” button. You will be asked to provide a name for your API key. After providing a name, click on the “Create” button.

Unize Storage
Generating a Knowledge Graph
Once you have your API key and a positive credit balance, you can start generating knowledge graphs. When generating a knowledge graph by providing input text, you need to make aPOST request to the /v1/storage/ endpoint. Include your API key in the request header to authenticate your call and pass to the body the following required parameters: documents.text and documents.source_title.
Here is an example of how to create a knowledge graph from text using Python:
graph_id which you can use to visualize the graph or review the generated nodes and relationships.
The
graph_id is a unique identifier for the generated graph. If you want to update an existing graph with new data, you can use the generated graph_id for that existing graph the next time you make a POST request to the /v1/storage/ endpoint.Exporting a Knowledge Graph
Once you have thegraph_id of the generated graph, you can export the graph by making a GET request to the /v1/storage/{graph_id}/ endpoint. Include your API key in the request header to authenticate your call and pass to the path parameter the following required parameters: graph_id.
The cypher_query parameter is optional and defaults to false. When false, the API returns a JSON object with arrays of nodes and relationships. If set to true, the response will be a JSON object containing a Cypher Query string instead.
Check out the tabs below to see how to call the /v1/storage/{graph_id}/ endpoint and how the responses would look like depending on the value passed to cypher_query parameter.
- cypher_query is false
- cypher_query is true
RequestResponseThe sample request above will return a
graph object that contain the nodes and relationships of the generated graph. Here is a sample response:Unize Retrieval
Asking Questions to a Knowledge Graph
To ask a question to a knowledge graph, you need to make aPOST request to the /v1/storage/{graph_id}/retrieval/ endpoint. To successfuly ask a question you need to follow these three requirements:
- Include your API key in the request header to authenticate your call;
- Pass the
graph_idto the path parameter; and - Pass to the request body the following required parameters:
question.
retrieval_id which you can use to check the status of the request and fetch the answer to your question once completed.
Fetching Answers to Your Questions
Once you have aretrieval_id, you can fetch the answer by making a GET request to the /v1/storage/{graph_id}/retrieval/{retrieval_id}/ endpoint. Include your API key in the request header to authenticate your call and pass to the path parameters the following: graph_id and retrieval_id.
Here is an example of how to fetch an answer using Python:
Importing a Knowledge Graph
You can also import an existing knowledge graph into Unize by making aPOST request to the v1/storage/import/ endpoint. Include your API key in the request header to authenticate your call and pass to the body the following required parameters: graph_name and cypher.
You can also pass an graph_id to the body if you want to assign a specific ID to the imported graph; otherwise, one will be auto-generated for you. If the graph_id already exists, the imported graph will be merged with the existing graph.
If you are passing a
graph_id, make sure it is a valid UUID4 string. Otherwise, the request will fail.graph_id of the imported graph.
Unlike when you use Unize AI to generate a graph—where we deduplicate all nodes, relationships, and properties to ensure a cohesive, non-duplicative structure—importing a non-Unize graph will import it as is. We do not perform any additional processing on imported graphs.